
Introduction
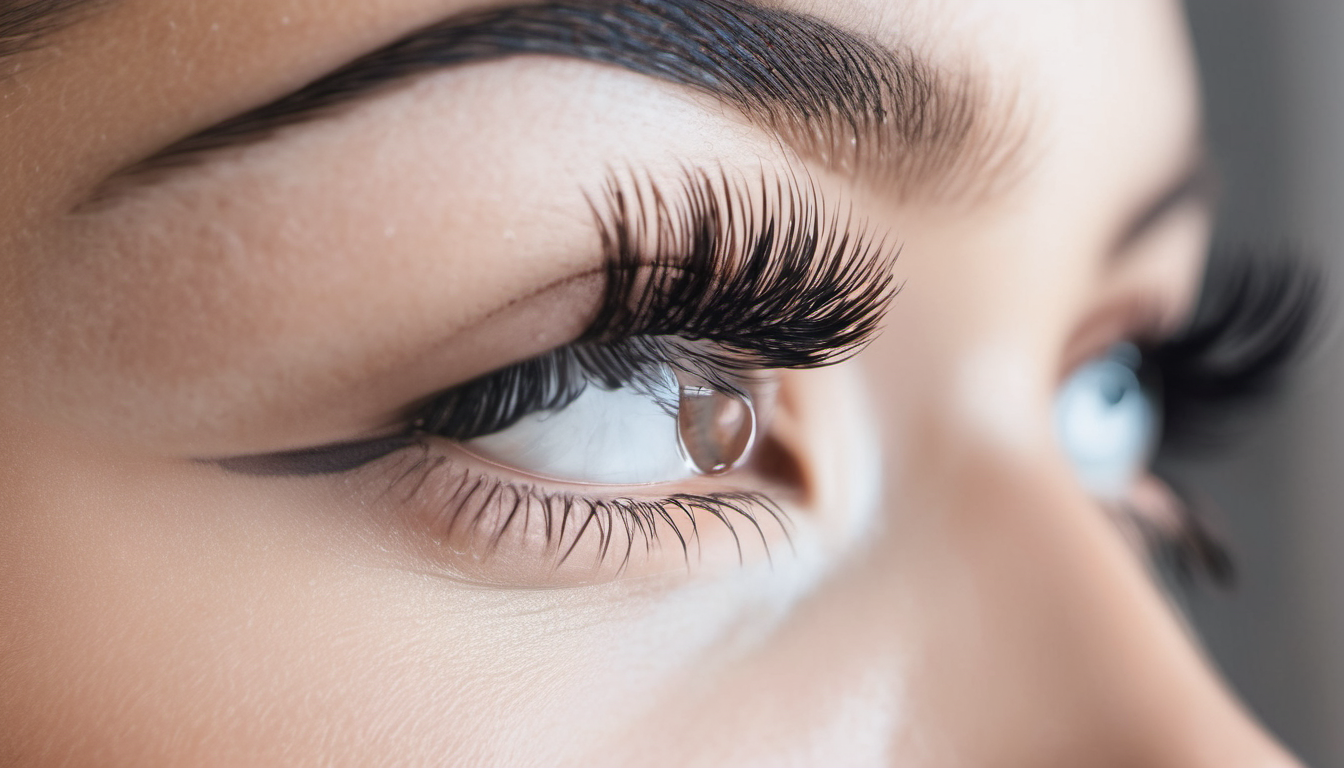
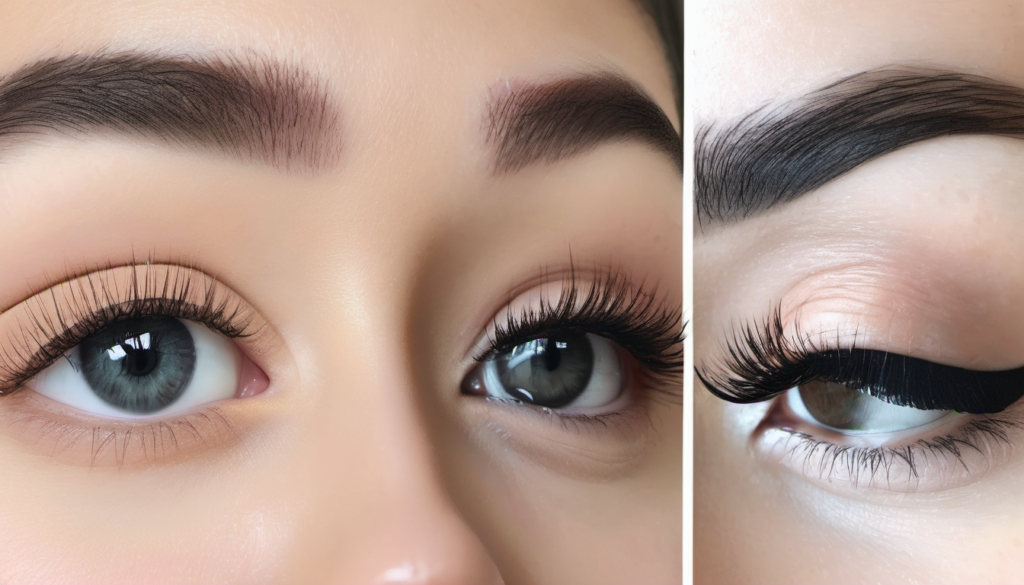
Long and curled eyelashes are a quick facial appearance update that brings up, opens the eyes, gives them a wide-eyed look, and make you look well-rested. However, the lash-lift option is offered by a professional at a salon, while the do-it-yourself (DIY) approach provides a similar effect, all from home. In this complete guide, let’s navigate the entire DIY process of lash lift, giving you some useful tips, techniques, and product recommendations so that you can achieve the most amazing outcomes.
Have a Knowledge of the Fundamentals of Lash Lifts
What does a Lash Lift mean?
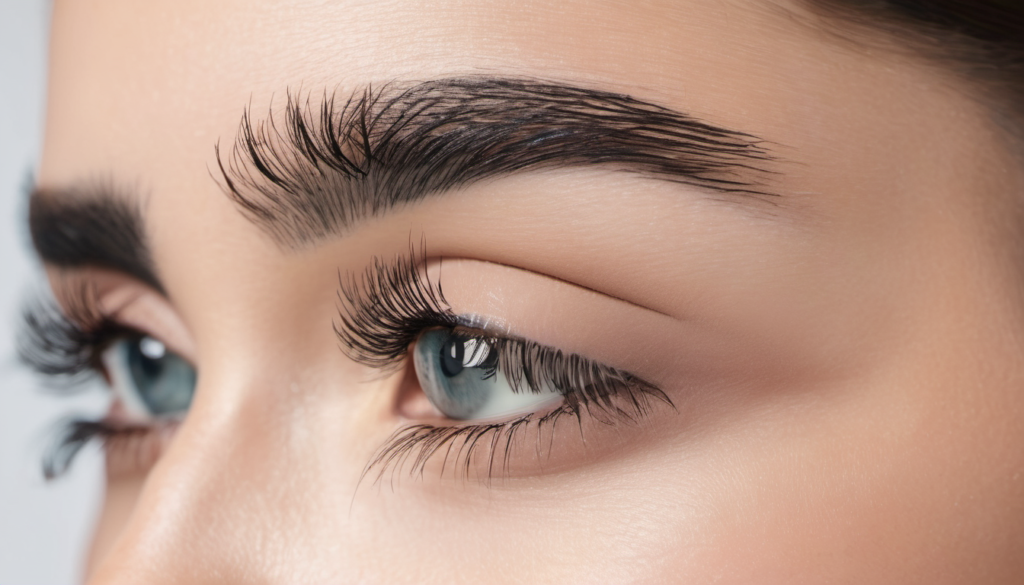
A lash lift is a semi-permanent beauty treatment meant to lift and curl your eyelashes naturally, thus giving you a more wide eyes and fresher look. A lash lift does not require you to have any eyelash extensions. Instead, it works together with your existing lashes; increasing their natural curl and length.
DIY Lash Lifts – Benefits
- Cost-effective: Do it yourself lash lifts are normally less expensive than salon professional lashes.
- Convenience: This is home-based procedure that will save you time and power.
- Customization: DIY lash lifts place you at the helm of the process to achieve the curve and lift desired.
- Privacy: A certain group of people prefer to use beauty treatments at their peace of mind by themselves
Collecting Needful Instruments, Appliances, and Products
Essential Tools:
- Silicone rollers or Combs for lash lifts of different sizes
- Lash lift adhesive
- We have developed lash lift solutions (lifting liquid, fixing liquid, and strengthening oils)
- Lash comb
- Microbrushes
- Cotton swabs
- Petroleum jelly
- Adhesive tape
- Timer
Choosing Quality Products:
The selection of reputable lash lift products is key to obtaining safe and powerful results. Search for quality brand with a complete kit which contains unambiguous instructions. Read reviews, consider the ingredients and find out if they are safe to use on your skin and eyes.
Trying out the DIY Lash Lift in advance
Patch Test:
Prior to using any lash lift products, do a patch test to see if you have skin irritation. What provided is a little bit of each solution in an area that is not obvious, following the explanation on the kit.
Cleanse and Remove Makeup:
Make sure that your eyelashes are not coated with any makeup and also free of oils. Mix a gentle oil-free makeup remover to wash the eye area completely.
Protect the Under-Eye Area:
Use a thin translucent layer of petroleum jelly to protect the surrounding skin around the eyes or apply adhesive tape to avoid irritation on the part of your skin during the application process.
Guided step-by-step DIY Lash Lift Procedure
Application of Silicone Pads or Rods
Pick the perfect size of silicone pad or rod depending on the heights and curls that is needed. Attach the pad or rod to your eyelid with the lash glue which is suitable for you, making sure the pad sits correct under your lash line.
Lash Separation:
Latch and comb the lashes with lash combs to distribute them evenly. This indicates that every lash is well curled and lifted in the right direction.
Applying Lifting Solution:
Apply the lifting lotion onto your lashes making sure everyone of them is coated with even layer. Use a microbrush with a precision purpose, and be careful that the solution does not touch your skin.
Setting Lotion Application:
Then after the suggested processing of the lifting method prescribed, apply the hair-locking lotion to secure the curl. Observe the kit instructions for the right length of time.
Nourishing and Hydrating:
End the process the application of a nourishing lotion that moisturized and condition your natural lashes. This step makes your lashes retain their condition and strength.
Post-Lift Care and Maintenance
Avoiding Water and Heat:
Water, steam and hot environment should be avoided for the first 24 hours after a Do-It-Yourself Lash lift. This provides the mat a chance to set and the benefit is long-lasting.
Gentle Lash Care:
Handle the fibre tips of the eyelash extensions gently. Instead of rubbing or tugging on them too hard, remove makeup gently in a careful manner to avoid destroying the fragile eyelashes.
Optional Tinting:
For the best effect, you may enhance your eyelashes with an eyelash tint after lifting procedure. Pick a tint of lashes that will match well with your natural color plus, follow the given instructions to avoid hitches.
Troubleshooting and Common Mistakes
Over-processing:
Be careful to avoid extending the recommended processing times of the option that is lift and set. Too many chemicals may damage the natural substance of the eyelashes.
Uneven Curl:
Secure that the silicone pads or rods are tightly fastened and evenly aligned. Unpracticed curling can lead to uneven bending.
Allergic Reactions:
If you have a reaction to the products during or after the DIY lash lift like a redness, swelling or itching wash off the products and consult a healthcare professional.
Frequently Asked Questions
Does the lash lift that you apply last for how long?
Lash lift duration depends on individual factors but usually about 6 to 8 weeks. The lift would have a long life if aftercare and maintenance be carried out well.
Is it okay to put on mascara after a lash lift (extension)?
Yes, you can wear mascara after experiencing a lash lift, but you need to wait a day. Use water-based mascara to protect the eyelashes after the lower lid blepharoplasty.
Can I repeat the DIY lash lift perm?
It is generally accepted to repeat a do it yourself lash lifting process every 6 to 8 weeks, depending on the lashes cycle. Though there are proper upkeep measures essential, it is important to follow them to preserve the lash health.
Conclusion
Acquiring salon-grade quality lash lifts at home is a gratifying effort that ushers in new beauty and revs up your confidence. This complete DIY lash lift guide ensures that once you’re through with it, you’ll have the right set of tools and knowledge to create your own curled lashes the way you want in the convenience of your space. Keep in mind the safety first, do as instructed and have fun of the beauty change that lash lifts at home offer.